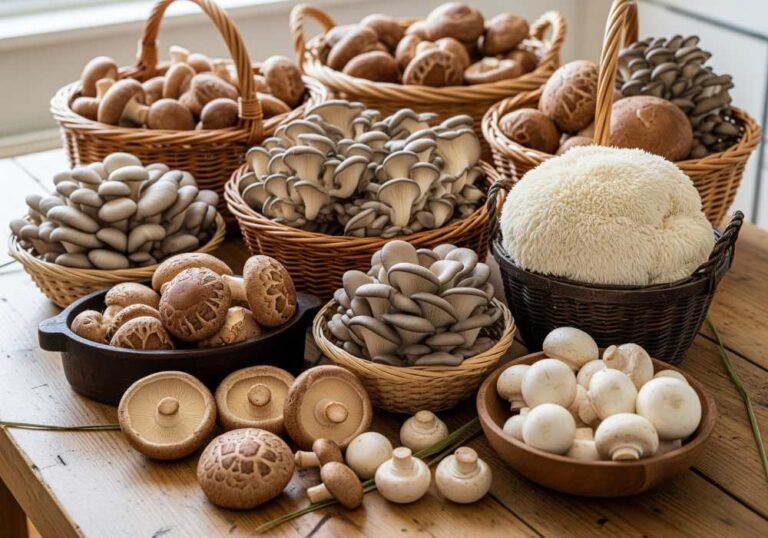
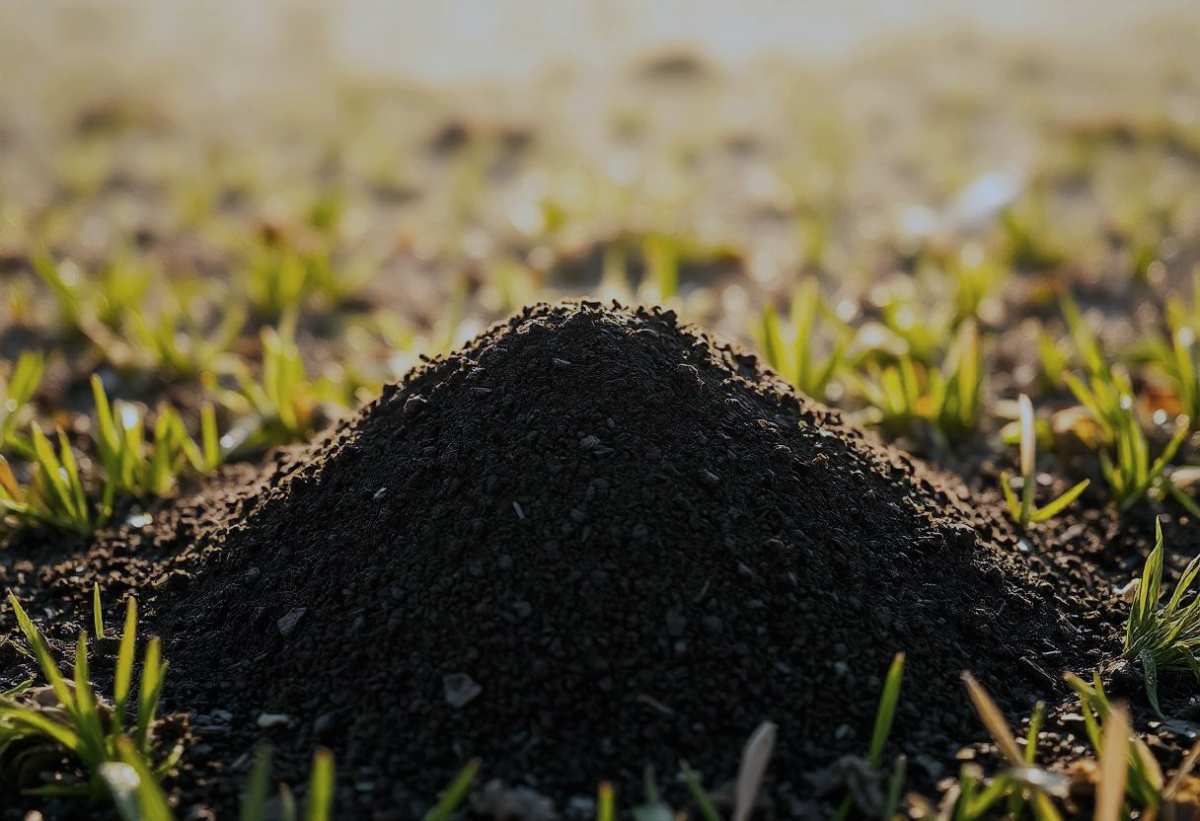
Mushroom compost, often referred to as “black gold” by gardeners, is a powerful organic amendment that nourishes plants and improves soil health.
Regular compost is typically made from a mix of organic materials like kitchen scraps, leaves, and grass clippings, mushroom compost is rich in organic matter from the growing medium used for mushrooms
This article will show you how to make high-quality mushroom compost. It will focus on six key ingredients: Straw, Horse Manure, Poultry Litter, Gypsum, Cottonseed Meal, Lime that are essential for its success.
1. Straw
Straw is a vital ingredient for mushroom compost. It consists of dried stalks from cereal crops like wheat, barley, or oats. Straw adds structure to the compost, creating air pockets that help with aeration and drainage.
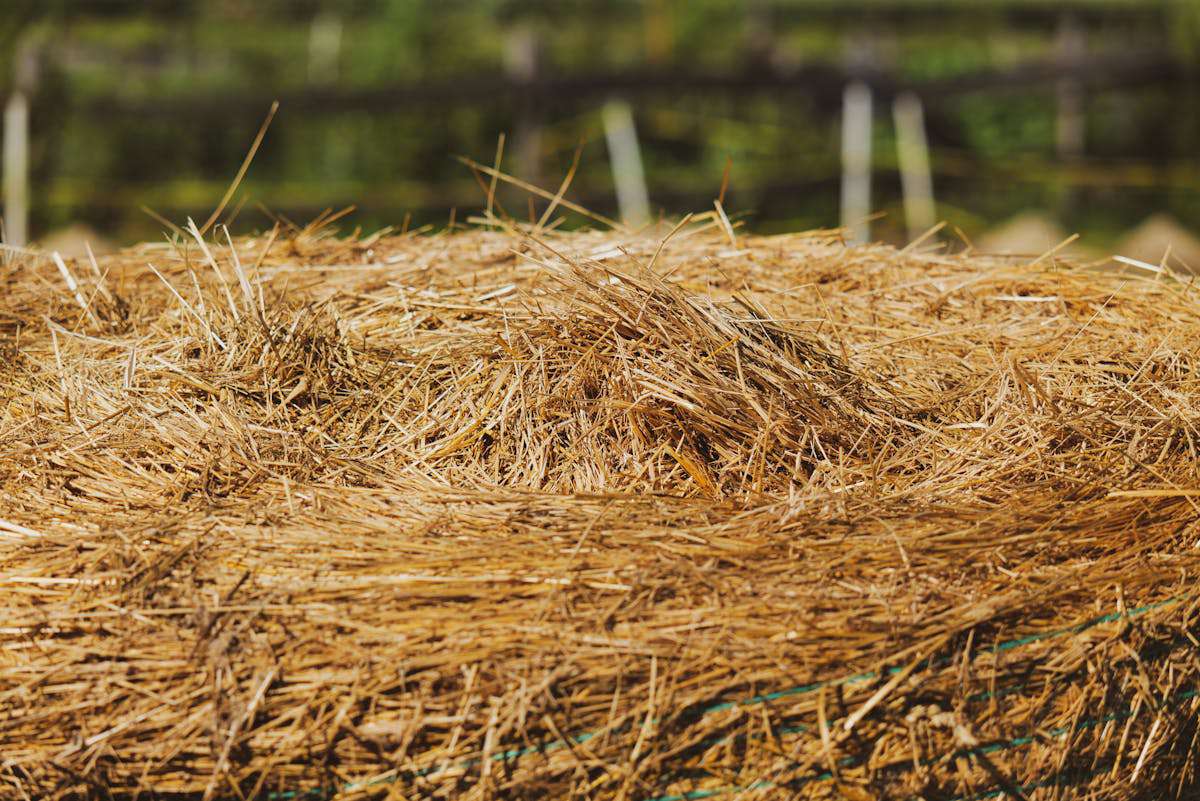
Using straw in your compost breaks down slowly, providing a steady release of organic matter. This slow release of nutrients is beneficial for plant growth. Additionally, straw increases the soil’s water-holding capacity, ensuring your mushrooms have consistent moisture.
2. Horse Manure
Rich in nutrients, horse manure provides organic matter to support mushroom growth and plant health. It helps create a fertile environment for mushrooms by supplying nitrogen, which is crucial for their development.
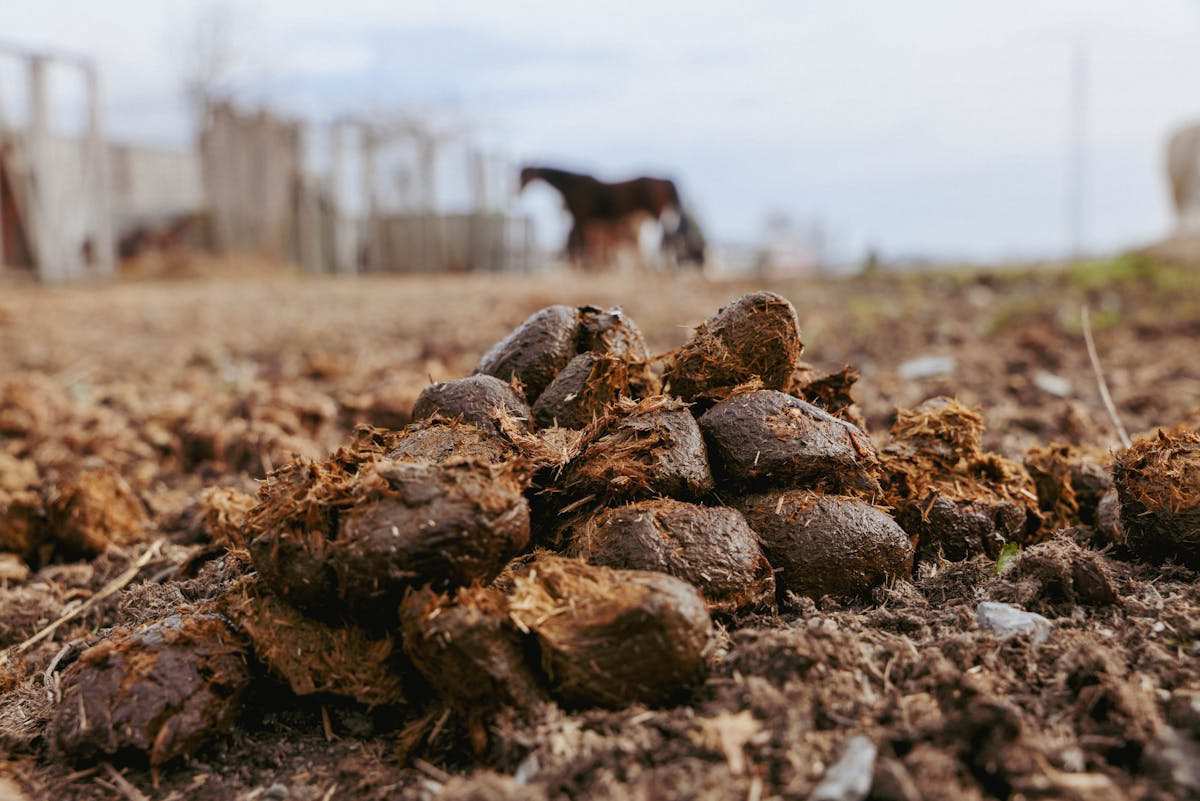
When using horse manure in your compost, make sure it is well-aged or composted. Fresh manure can be too strong and may harm young plants and germinating seeds. Aged horse manure, however, breaks down easily and integrates well with other compost ingredients.
Horse manure also helps kill weed seeds, reducing the risk of unwanted plants in your mushroom growing setup. It makes the soil suitable for most garden plants.
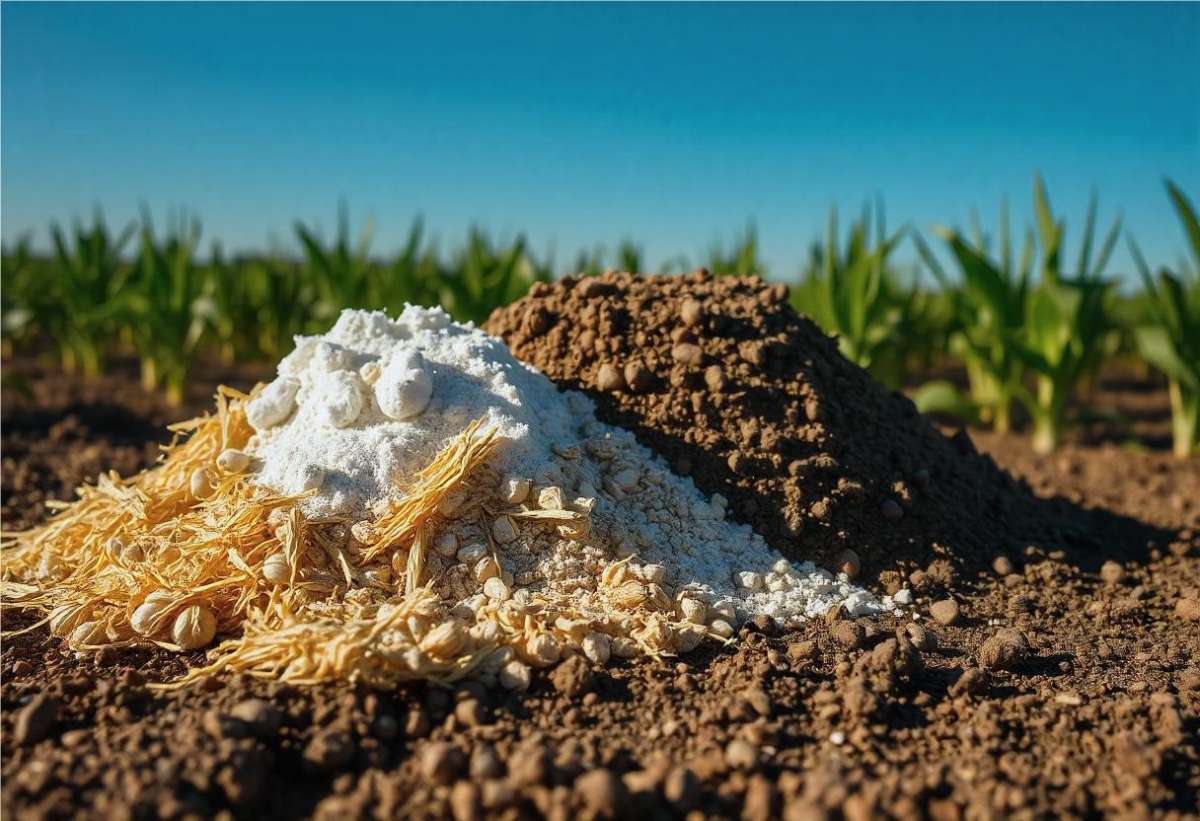
3. Gypsum
It is a naturally occurring mineral that helps balance the pH levels in your compost, making it ideal for mushroom growing. Gypsum also prevents the compost from becoming too compact, ensuring good aeration and drainage.

Adding gypsum to your mushroom compost provides essential calcium and sulfur, which support healthy plant growth and robust mushroom development. These nutrients are crucial for building strong cell walls and promoting overall vitality.
This is particularly beneficial for salt-sensitive plants, as gypsum helps leach excess salts from the soil.
4. Poultry Litter
It can be chicken or other poultry manure mixed with bedding materials like straw or wood shavings. It provides a quick release of nutrients that boost the development of mushrooms and other plants.
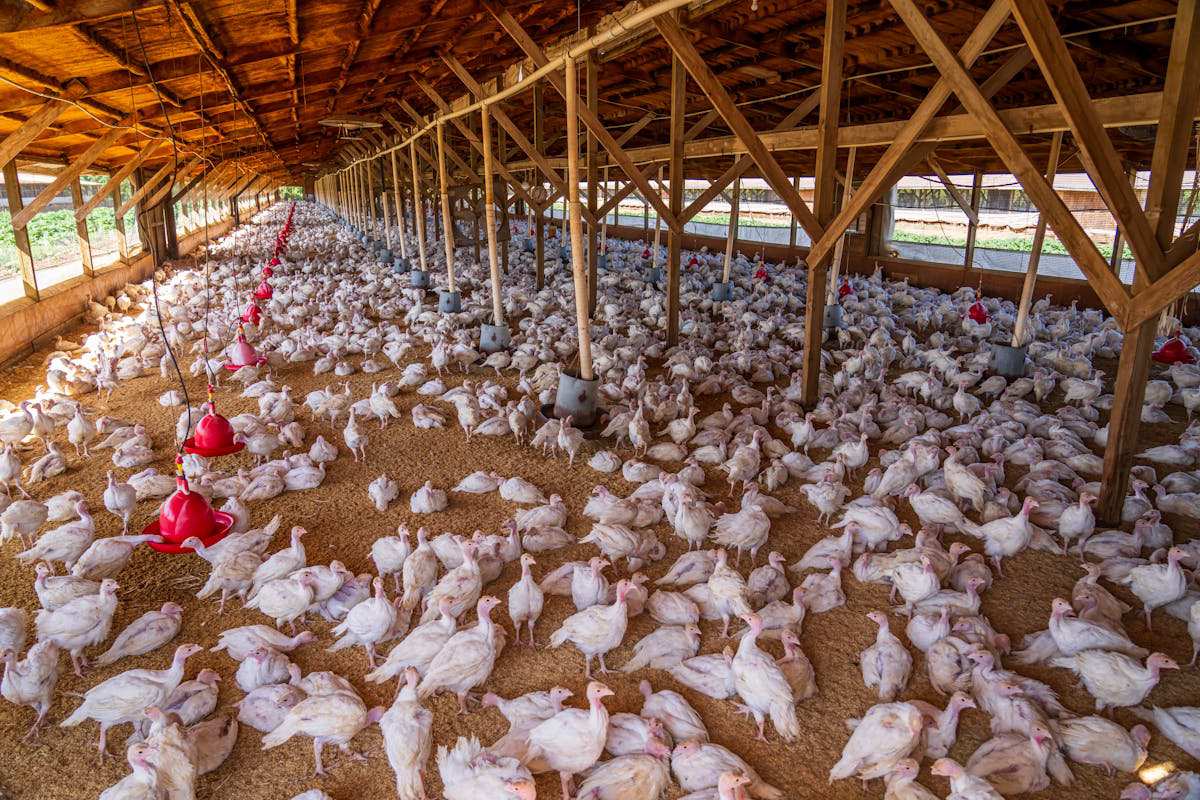
This nitrogen-rich material helps accelerate the decomposition process, turning organic matter into nutrient-dense compost faster.
Poultry litter also helps improve the soil structure, making it a suitable soil amendment for most garden plants. It also increases the water holding capacity.
It’s important to manage it properly to avoid any strong odors or pest issues.
5. Cottonseed Meal
Made from ground cottonseeds, this meal is rich in protein and essential nutrients that support healthy mushroom growth.
Using cottonseed meal in your compost adds valuable organic matter that enhances the soil structure. This makes it suitable for most garden plants and ensures consistent moisture levels for your mushrooms.
It provides a steady supply of nutrients, which is particularly beneficial in creating a fertile environment for mushrooms and other plants.
6. Lime
Lime is a critical ingredient in mushroom compost, particularly for balancing the pH levels of the mixture. Mushrooms thrive in slightly acidic to neutral conditions, and lime helps neutralize excess acidity that may result from decomposing organic materials like manure or peat moss.
Benefits of Lime in Mushroom Compost:
- Balances pH: Ensures the compost maintains an optimal pH range for mushroom growth.
- Promotes Microbial Activity: Creates a suitable environment for beneficial microbes to break down organic matter.
- Reduces Soluble Salts: Works with gypsum to prevent salt buildup that can harm young mushroom spores.
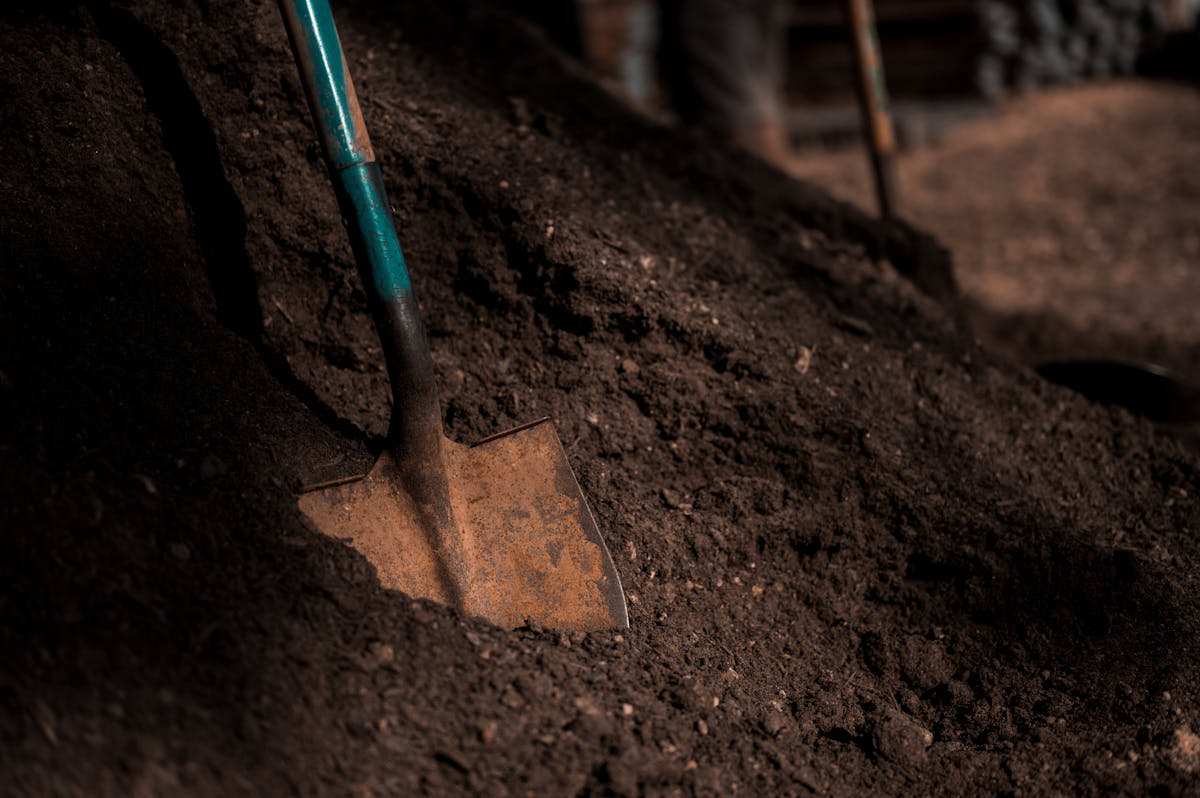
Creating Mushroom Compost: Step-by-Step Guide
| Material | Approximate Amount |
| Straw | 45% by volume |
| Horse Manure | 20% by volume |
| Gypsum | 1–2 cups per cubic foot of compost |
| Poultry Litter | 10% by volume |
| Lime | 1–2 cups per cubic foot of compost |
| Cottonseed Meal | 1–2 cups per cubic foot of compost |
| Water | As needed for moisture control |
Step 1: Prepare the Compost Pile
Layering:
- Begin with a 6–8 inch layer of chopped straw.
- Add a layer of horse manure or poultry litter over the straw.
- Sprinkle a thin, equal layer of gypsum and lime over the manure.
- Repeat these layers until all ingredients are used, adding cottonseed meal thoroughly as you go.
Moistening Each Layer:
Spray water onto each layer as you build the pile, ensuring the materials feel like a damp sponge—moist but not dripping. Adjust water as needed to maintain proper moisture levels.
Step 2: Mixing (Turning the Pile)
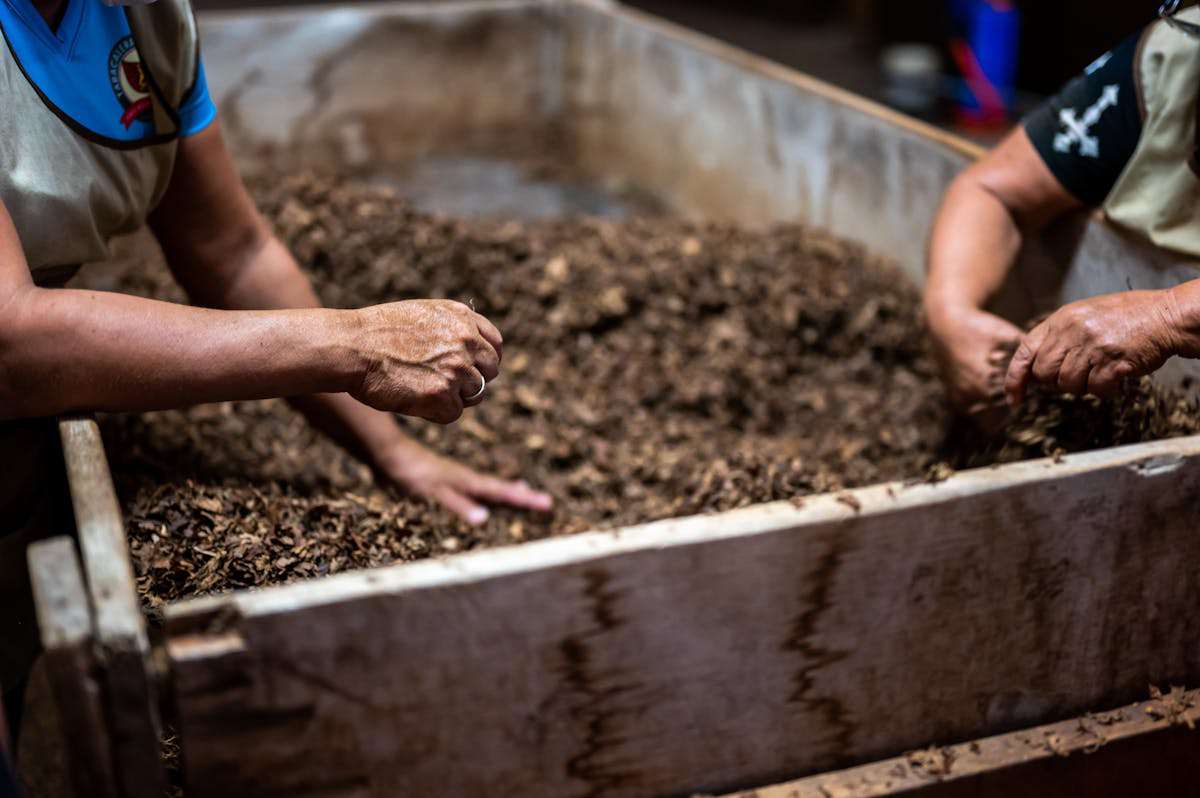
- Initial Mixing:
- After 3–4 days, mix the ingredients thoroughly to introduce oxygen and ensure balanced decomposition.
- Frequency:
- Turn the pile every 2–3 days for the first 2 weeks, then reduce to once a week as the material starts breaking down.
- How Long to Mix:
- Each turning session should take about 10–15 minutes for small piles. For larger piles, use a compost turner or fork to ensure complete mixing.
Step 3: Composting Process
The compost will naturally heat up to 140–160°F (60–70°C) due to microbial activity. This “cooking” phase kills harmful pathogens, weed seeds, and pests.
Regularly check the pile’s heat using a compost thermometer. Turn the pile every 2–3 days to aerate and speed up decomposition.
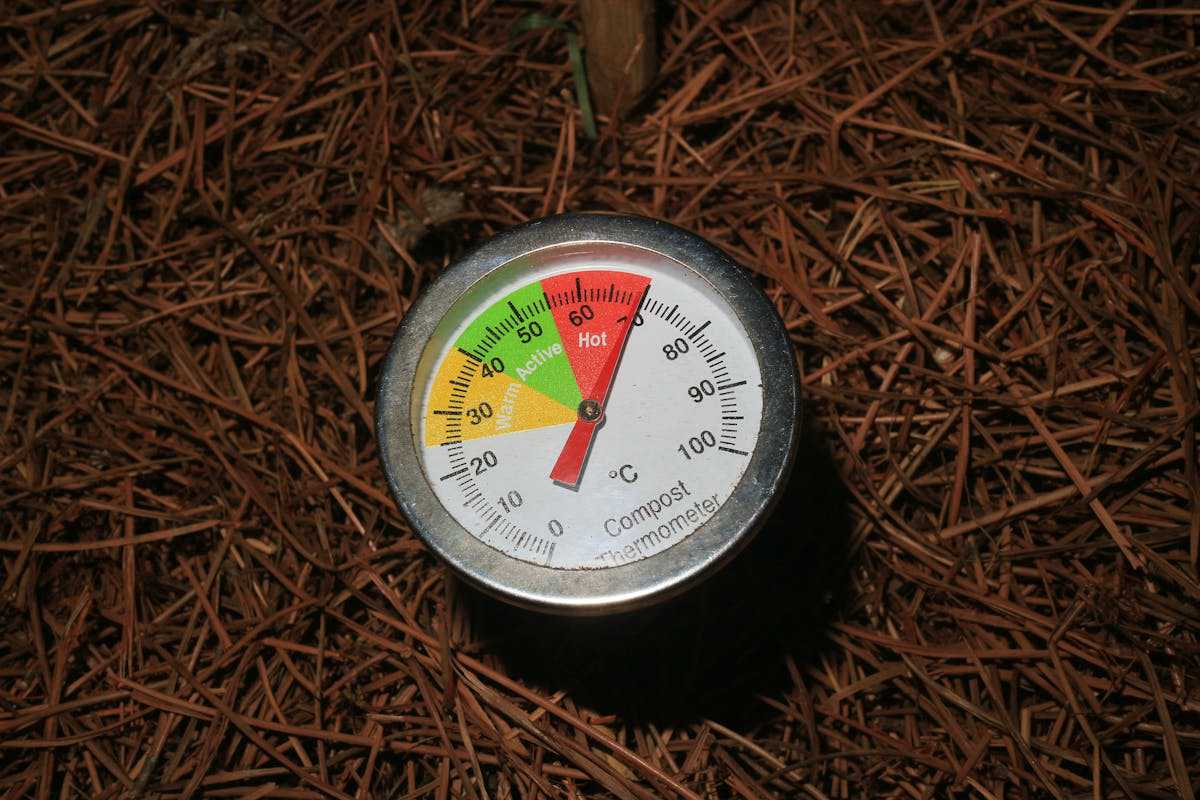
If the temperature drops below 120°F (50°C), turn the pile to reintroduce oxygen and boost microbial activity. If temperatures exceed 170°F (76°C), turn the pile to avoid killing beneficial microbes.
The composting process usually takes about 4–6 weeks.
Check moisture levels frequently; squeeze a handful of compost. If water drips, it’s too wet; if it crumbles apart it’s too dry. Adjust by adding dry material or water as needed.
Step 4: Pasteurization
- Optional Cooking Step:
- If you’re using the compost for mushroom growing, you may need to pasteurize it to eliminate unwanted microbes.
- Pasteurization can be done by heating the compost in a covered container at 160°F (70°C) for 1–2 hours.
- Alternative:
- Let the compost naturally heat in the pile. The heat generated from microbial activity during proper turning is usually sufficient.
Step 5: Curing
Once the compost becomes dark, crumbly, and emits an earthy smell, it is ready to cure. Allow the compost to sit undisturbed for 2–4 weeks to stabilize.
After curing, transfer the finished compost to a clean container for storage.
Troubleshooting Common Composting Issues
Odor Problems
Sulfurous Odors (Rotten Eggs): This indicates a lack of oxygen and potentially excess moisture. To address this, ensure proper aeration by turning your compost pile regularly. Additionally, adding bulking agents like wood chips will help absorb moisture and promote airflow.
Ammonia Odors: This suggests an imbalance of green (nitrogen-rich) and brown (carbon-rich) materials, with too much green matter. To rectify this, add brown materials like shredded leaves, straw, or cardboard to create a better carbon-to-nitrogen ratio.
Undesirable Odors: Generally, unpleasant odors signify anaerobic decomposition. Turning the pile frequently will introduce oxygen and encourage the growth of beneficial microbes that produce a pleasant, earthy smell.
Pest Control
Fruit Flies: Fruit flies thrive in moist environments. Ensure your compost bin has a tight-fitting lid to prevent them from entering and laying eggs.
Fungus Gnats: These small flies favor moist environments with decaying organic matter. A simple solution is to sprinkle a thin layer of sand or straw over the top of your compost pile to create a barrier that deters egg-laying.
Rodents: Rodents are attracted to food scraps. To avoid attracting them, avoid adding meat scraps, dairy products, or oily food waste to your compost. Consider using a rodent-proof container or wire mesh to enclose your compost pile.
Balancing Ingredients
Soggy compost indicates an excess of green materials and insufficient brown materials. To remedy this, add brown materials with high carbon content, such as shredded cardboard, leaves, or wood chips. These materials will absorb excess moisture and create air pockets for improved aeration.
Dry and Crumbly Compost: This signifies a lack of green materials. To address this, add green materials rich in nitrogen, such as coffee grounds, vegetable scraps, or fresh grass clippings (in moderation).